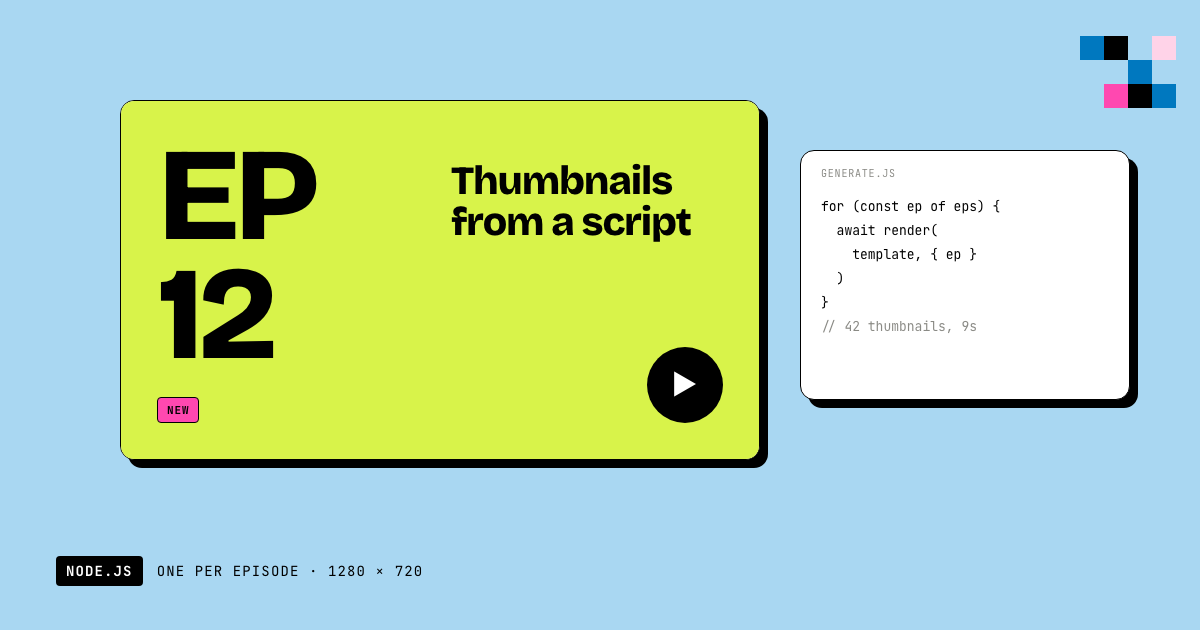
In this post, we'll teach you how to create a thubnail generator using node.js and Pictify API. A thumbnail generator is a tool that allows you to create custom thumbnails for your videos, blog posts, or social media posts. By creating custom thumbnails, you can grab your audience's attention and entice them to click on your content.
Why create a thumbnail generator?
Creating custom thumbnails has several benefits:
- Increased engagement: Custom thumbnails can grab your audience's attention and entice them to click on your content, increasing engagement and views.
- Brand consistency: By creating custom thumbnails that reflect your brand identity, you can maintain a consistent look and feel across all your content.
- Improved SEO: Custom thumbnails can help improve your search engine optimization (SEO) by making your content more visually appealing and clickable.
Prerequisites
Before we get started, make sure you have the following prerequisites:
- Node.js: Make sure you have Node.js installed on your machine. You can download Node.js from the official website.
- Pictify API key: Sign up for a free account on the Pictify website to get your API key.
- Axios package: Install the
axiospackage by running the following command in your terminal:
npm install axios- Cheerio package: Install the
cheeriopackage by running the following command in your terminal:
npm install cheerio- ejs package: Install the
ejspackage by running the following command in your terminal:
npm install ejsStep 1: Set up the code
First, create a new file called generateThumbnail.js and add the following code:
const axios = require('axios');
const fs = require('fs');

const apiKey = 'YOUR_API_KEY';
Replace YOUR_API_KEY with your actual API key.
Step 2: Create the file for which you want to generate a thumbnail
Next, create a new file (e.g., blogPost.html) for which you want to generate a thumbnail. This file will be used as the input for the thumbnail generator.
Example blogPost.html:
<!DOCTYPE html>
<html lang="en">
<head>
    <meta charset="UTF-8">
    <meta http-equiv="X-UA-Compatible" content="IE=edge">
    <meta name="viewport" content="width=device-width, initial-scale=1.0">
    <title>Blog Post</title>
    <style>
        body {
            font-family: Arial, sans-serif;
            text-align: center;
        }
        .title {
            font-size: 24px;
            font-weight: bold;
            margin-bottom: 20px;
        }
        .content {
            font-size: 16px;
            margin-bottom: 10px;
        }
    </style>
</head>
<body>
    <div class="title">How to Create a Thumbnail Generator</div>
    <div class="hero-image">
        <img src="https://example.com/hero-image.jpg" alt="Hero Image">
    </div>
    <div class="content">In this post, we'll teach you how to create a thumbnail generator using node.js and Pictify API.</div>
</body>
</html>
The blogPost.html file could be any HTML file for which you want to generate a thumbnail. This file should contain the content and images you want to include in the thumbnail. This could also be a url of a webpage.
Step 3: Generate the template for the thumbnail
Now, we will create a ejs template for the thumbnail. Add the following code to thumbnailTemplate.ejs:
<!DOCTYPE html>
<html lang="en">
<head>
    <meta charset="UTF-8">
    <meta http-equiv="X-UA-Compatible" content="IE=edge">
    <meta name="viewport" content="width=device-width, initial-scale=1.0">
    <title>Thumbnail</title>
    <style>
        body {
            font-family: Arial, sans-serif;
            text-align: center;
        }
        .thumbnail {
            width: 800px;
            margin: 0 auto;
            padding: 20px;
            border: 1px solid #ccc;
        }
        .hero-image img {
            width: 100%;
            margin-bottom: 20px;
        }
        .title {
            font-size: 24px;
            font-weight: bold;
            margin-bottom: 20px;
        }
        .content {
            font-size: 16px;
            margin-bottom: 10px;
        }
    </style>
</head>
<body>
    <div class="thumbnail">
        <div class="hero-image">
            <img src="<%= heroImage %>" alt="Hero Image">
        </div>
        <div class="title"><%= title %></div>
    </div>
</body>
</html>
EJS is a simple templating language that lets you generate HTML markup with plain JavaScript. In this template, we're using EJS to dynamically insert the hero image and title from the blog post.
Step 4: Generate the thumbnail HTML
Now we need to generate the HTML content for the thumbnail. Add the following code to generateThumbnail.js:
const cheerio = require('cheerio');
const ejs = require('ejs');

const generateThumbnailHTML = async () => {

  const blogHTMLContent = fs.readFileSync('blogPost.html', 'utf8');
  const $ = cheerio.load(htmlContent);

  const heroImage = $('.hero-image img').attr('src');
  const title = $('.title').text();

  const thumbnailHTML = ejs.renderFile('thumbnailTemplate.ejs', { heroImage, title });

  return thumbnailHTML;
}
If you are using a url of a webpage, you can use axios to fetch the html content of the webpage as shown below:
const axios = require('axios');

const generateThumbnailHTML = async () => {
const response = await axios.get('https://example.com/blogPost.html');
const htmlContent = response.data;
const $ = cheerio.load(htmlContent);

const heroImage = $('.hero-image img').attr('src');
const title = $('.title').text();

const thumbnailHTML = ejs.renderFile('thumbnailTemplate.ejs', { heroImage, title });

return thumbnailHTML;
}
Make sure you use the correct selectors to extract the hero image and title from the HTML content.
The generateThumbnailHTML function reads the content of the blogPost.html file, extracts the hero image and title using Cheerio, and renders the thumbnail template using EJS.
Step 5: Generate the thumbnail image
Finally, we'll use the Pictify API to generate the thumbnail image. Add the following code to generateThumbnail.js:
const generateThumbnailImage = async (html) => {
  const apiKey = 'YOUR_API_KEY';
  const response = await axios.post('https://api.pictify.io/image', { html }, { headers: { Authorization: `Bearer ${apiKey}` } });
  const thumbnailURL = response.data.url;

  return thumbnailURL;
}
This code sends a POST request to the Pictify API with the generated HTML content and retrieves the URL of the generated thumbnail image.
Finally, the complete code for generateThumbnail.js should look like this:
const axios = require('axios');
const fs = require('fs');
const cheerio = require('cheerio');
const ejs = require('ejs');

const generateThumbnailHTML = async (url) => {
  const response = await axios.get(url);
  const $ = cheerio.load(blogHTMLContent);

  const heroImage = $('.hero-image img').attr('src');
  const title = $('.title').text();

  const thumbnailHTML = ejs.renderFile('thumbnailTemplate.ejs', { heroImage, title });

  return thumbnailHTML;
}

const generateThumbnailImage = async (html) => {
  const apiKey = 'YOUR_API_KEY';
  const response = await axios.post('https://api.pictify.io/image', { html }, { headers: { Authorization: `Bearer ${apiKey}` } });
  const thumbnailURL = response.data.url;
  return thumbnailURL;
}

const generateThumbnail = async (url) => {
  const thumbnailHTML = await generateThumbnailHTML(url);
  const thumbnailURL = await generateThumbnailImage(thumbnailHTML);
  return thumbnailURL;
}

const main = async () => {
  const url = 'https://example.com/blogPost.html';
  const thumbnailURL = await generateThumbnail(url);
  console.log(thumbnailURL);
}

main();
Update the main function with the URL of the blog post or webpage for which you want to generate a thumbnail. Then run the script by executing the following command in your terminal:
node generateThumbnail.jsThe script will generate a URL which will be the thumbnail image. You can download the image by visiting the URL in your browser. The thumbnail for this example will look like this:

You can customize the thumbnail template and HTML content to suit your needs. Experiment with different styles and content to create engaging thumbnails for your content.
Hope this helps! If you have any questions or need further assistance, feel free to reach out to us. We're here to help!
Happy thumbnailing!
Ship documents, images and video from one template.
50 renders a month on the free tier. No card, no watermark.
Start free